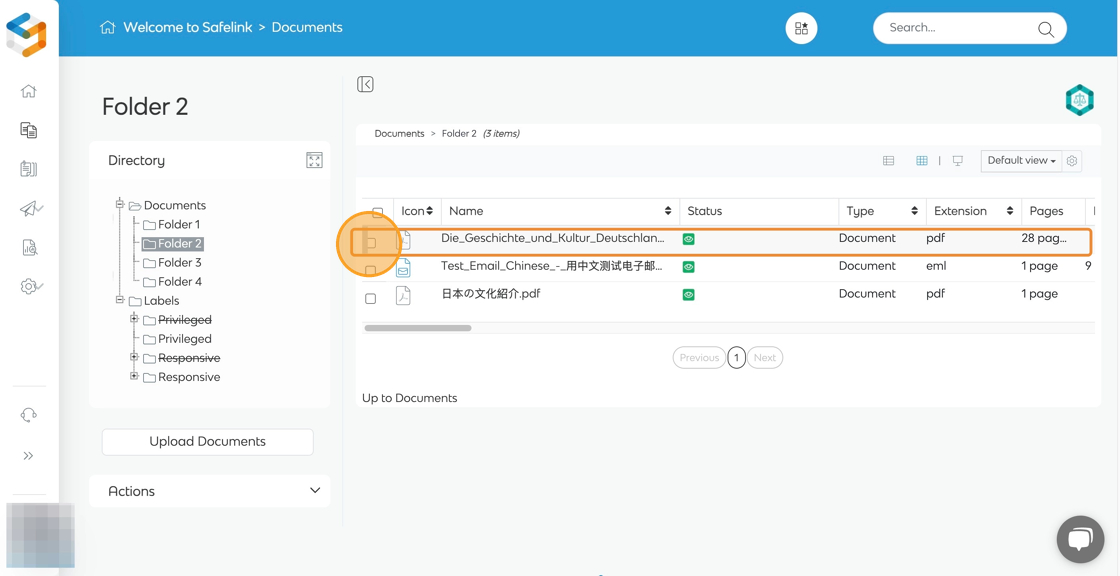
- To begin click the Documents tab.

- Find and open the document that you would like to classify or label.
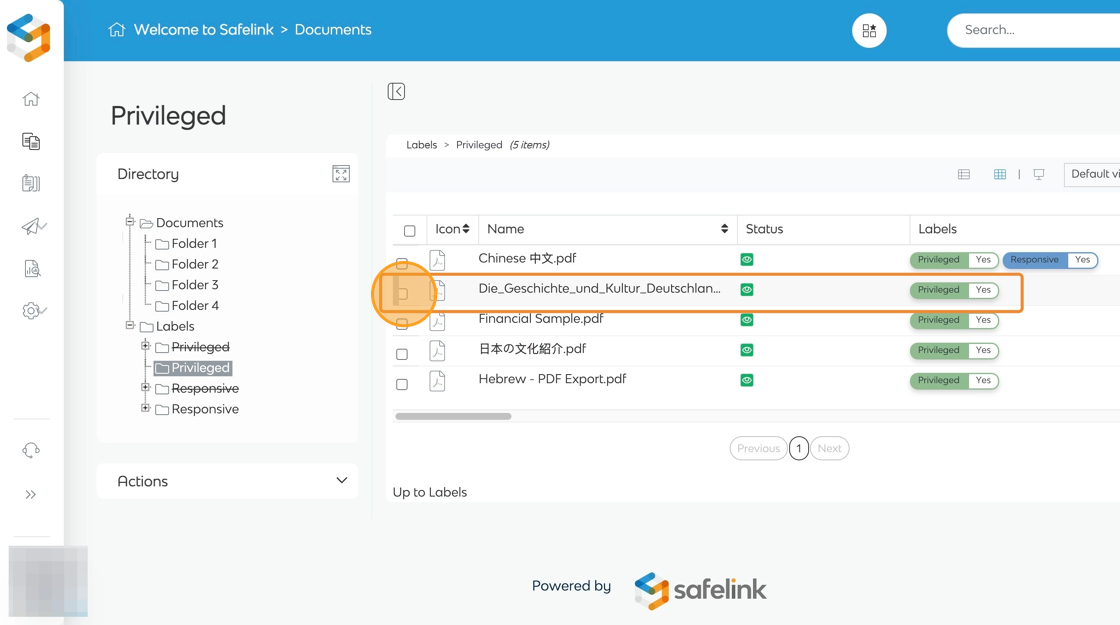
- You can find the Labels Menu in the sidebar.

- You can find tagged documents inside the 'Labels' folder in your workspace, a new folder is automatically created for each tag. You can set up multiple tags per document.
Note: Only Workspace admins can set up the classification tags. Please contact your Workspace admin if you need to change or add classification tags.