- To begin, click Home.
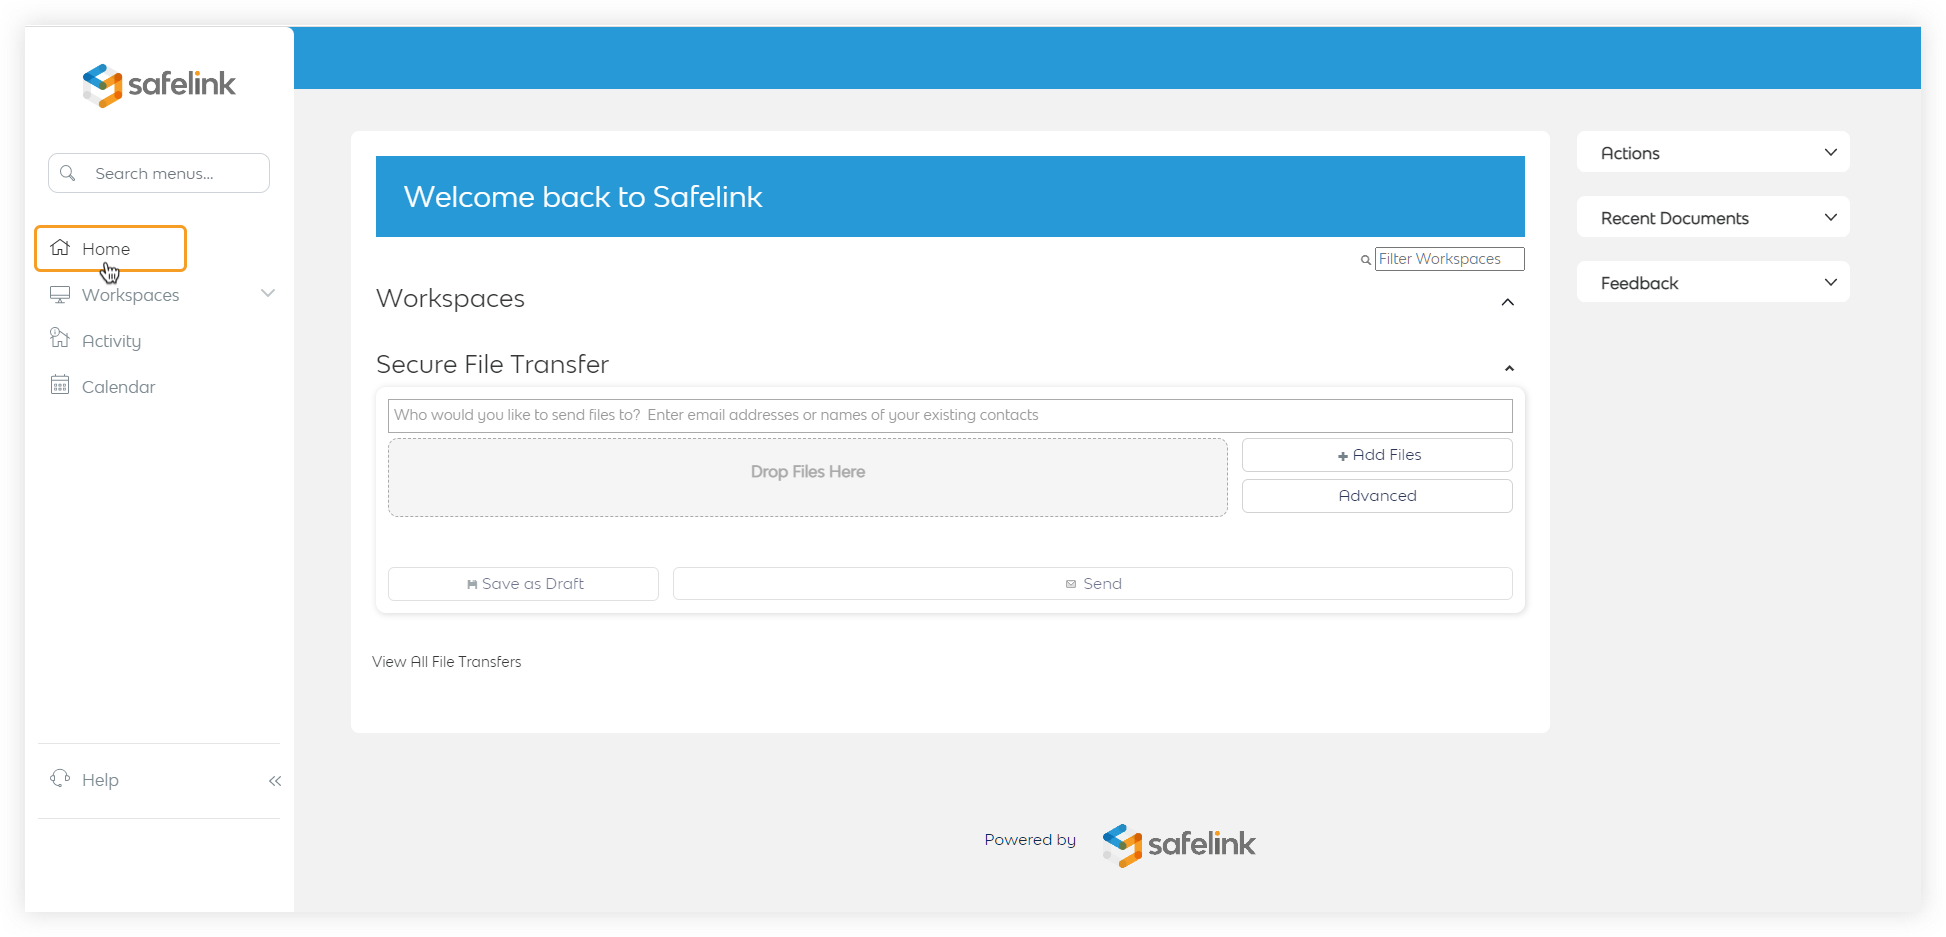
- Next scroll down to the Secure File Transfer Panel.

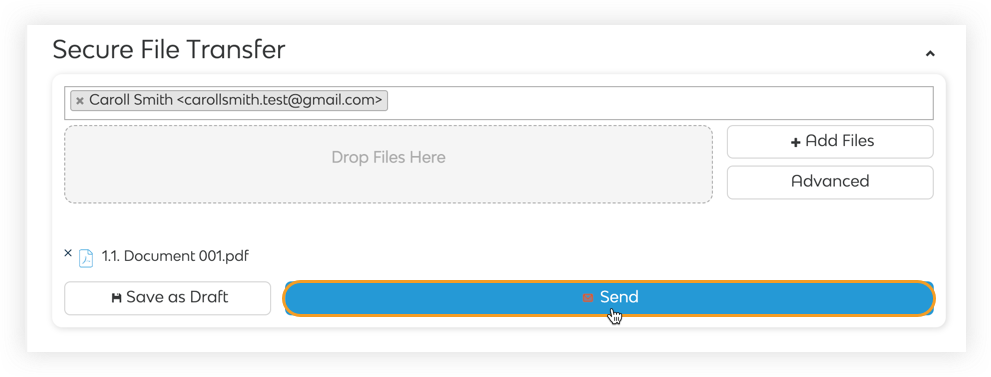
- Enter recipient/s email address.
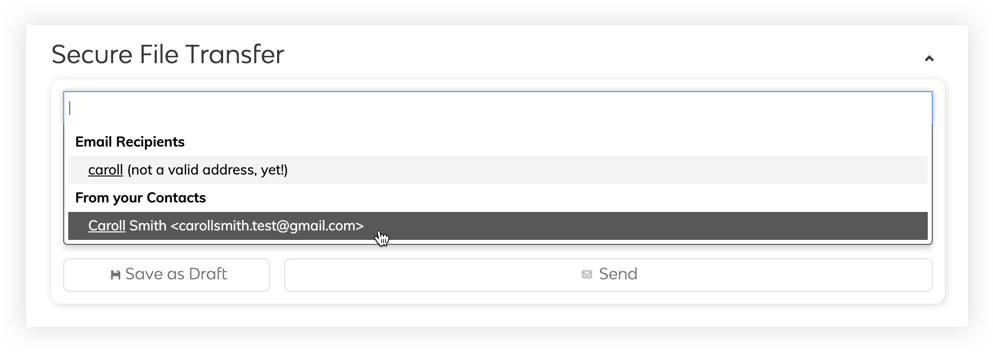
You can send Secure File Transfers to users who do not have a Safelink account. - Click on Add Files or Drag & Drop the file/s you wish to send.
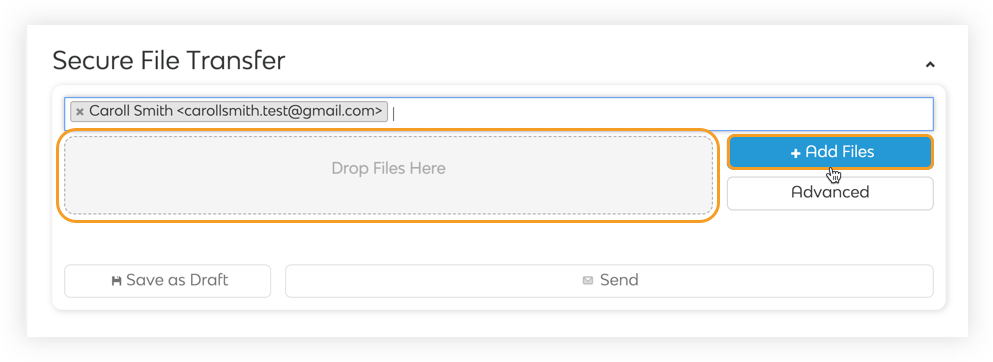
Please note that you can only attach files, not folders using Secure File Transfer. - Click the Advance button to:
- Include a personal message.
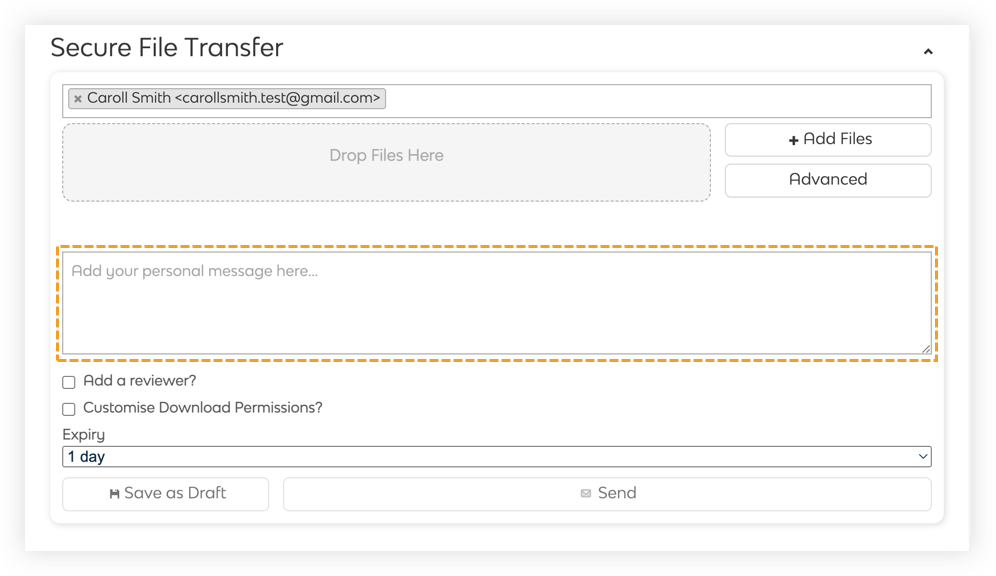
- Add a Reviewer.

- Customise Download Permissions.
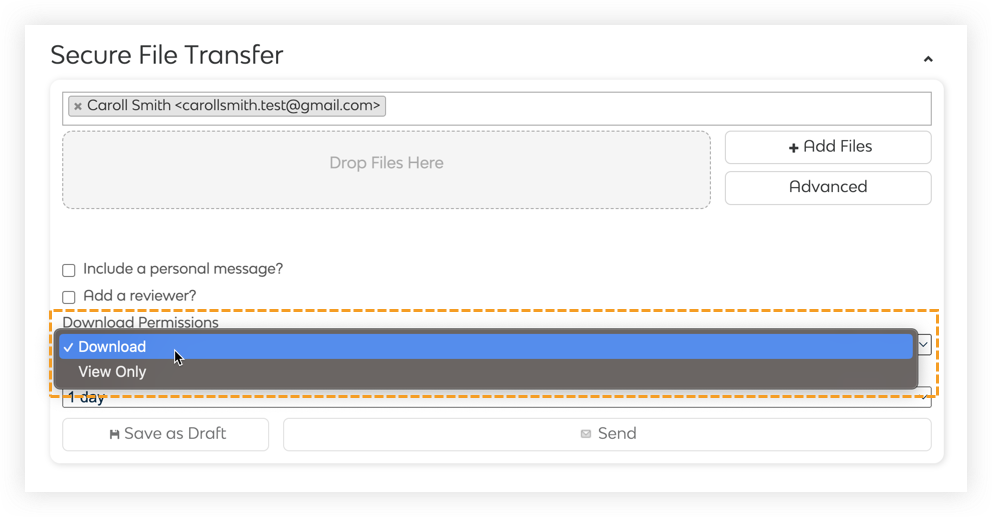
Download Permission defaults to Download. You can set the file to View Only if you don't want the recipient to download the file. - Add Expiry date.
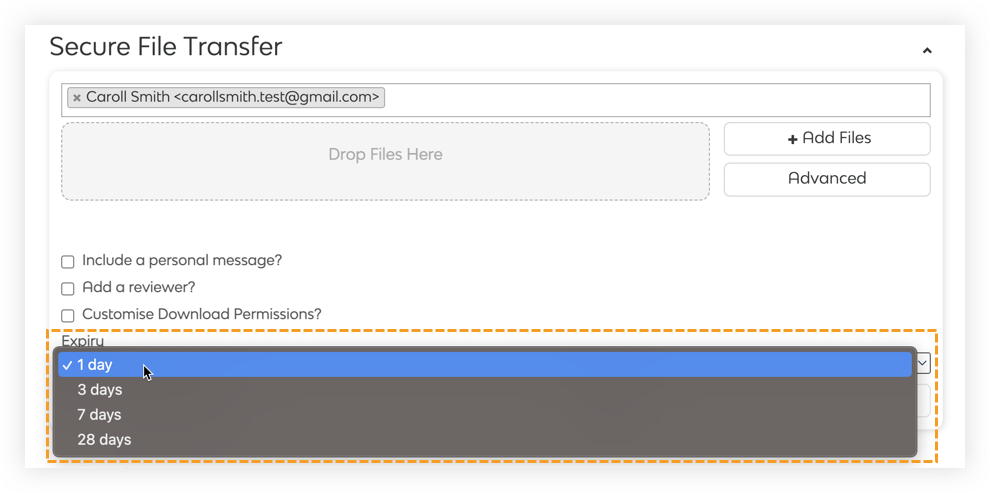
Recipients and Reviewers would no longer be able to access the File Transfer contents after the expiry date. Senders can still access expired File Transfers under the Secure File Transfer panel on their homepage.
- Include a personal message.
- Click Save as Draft if you want to save the File Transfer for later.
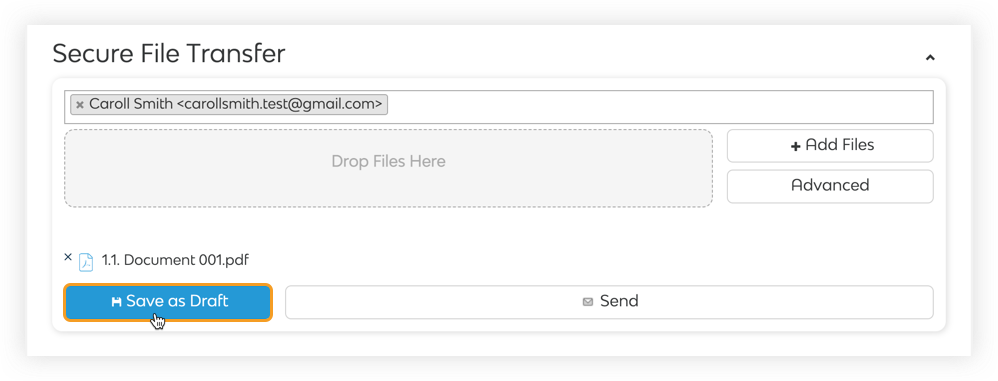
- Lastly, click Send to send your File Transfer.
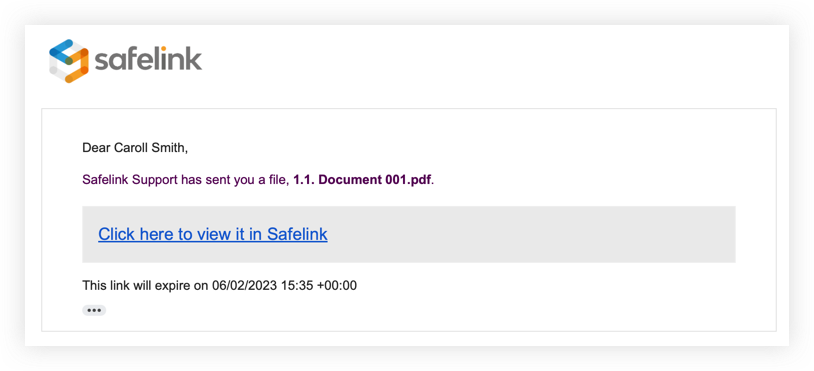
The reviewer or recipient will receive an email with the link to Secure File Transfer page.