- Click Manage Workspace to access the workspace settings page.

- Click Labels & Metadata.

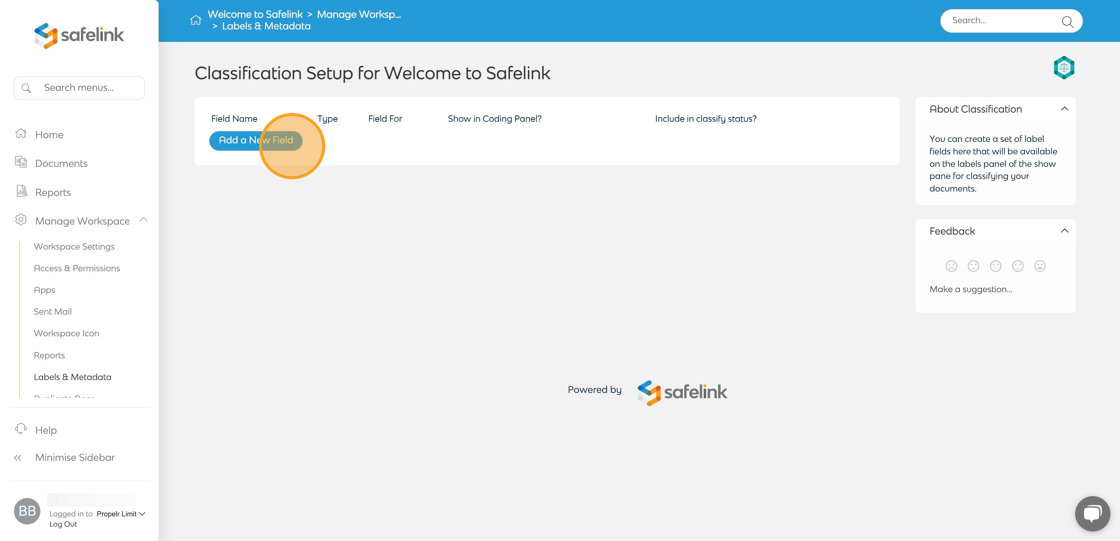
- Click Add a New Field.
- Enter a Field Name. This will become the column heading.
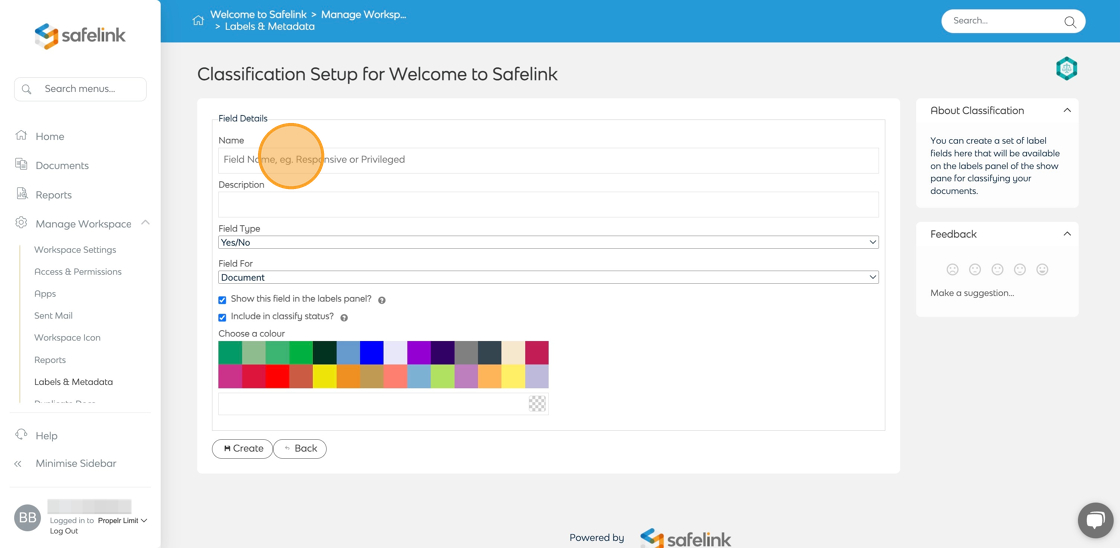
- Set Field Type to Text.

- Click Create.

- Go back to Documents Area and select the folder where you want to add the column.

- Click the gear icon to open the View Settings.

- Click the text metadata that you have created to enable it. Drag and drop the column to your preferred order.

- You can also select Apply to subfolders to add the column to all the folders in your workspace. Then, click Save.

- The column is now visible in the Folder View.

How to Enter the Text
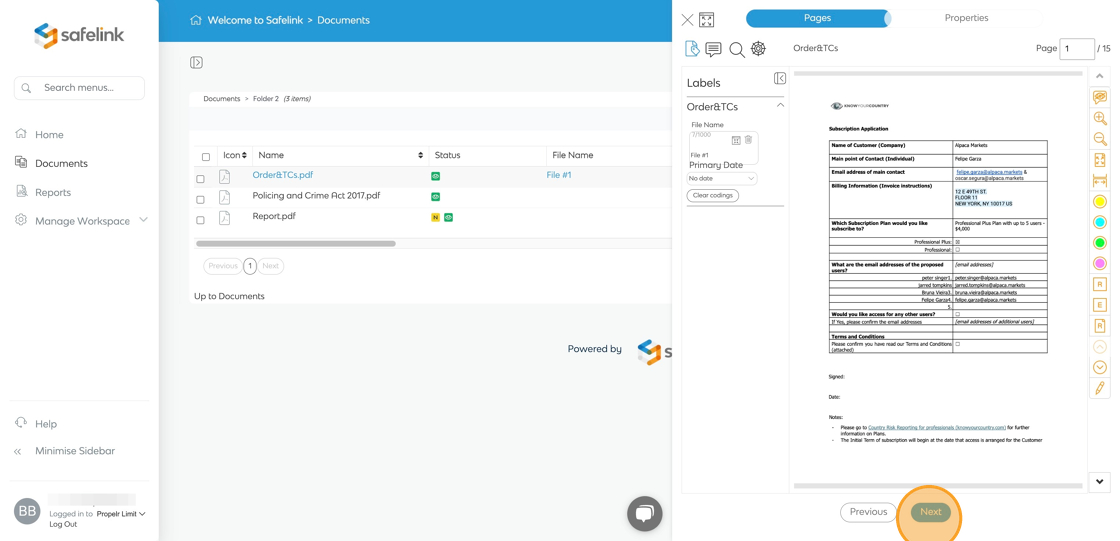
- Open the document in Showpane and click the Labels icon.

- Click the Text Box of the column that you have created.

- Type your text in the box and press Enter to save it.

- Click Next button to move on to the next document.
Repeat steps 2 to 4 until you have added the text to all the necessary documents. - The column will automatically pop[ulate with the text you have entered in the Text Box.
