Grid View - View Settings - Gen 4
Grid View - View Settings - Gen 3
Grid View - View Settings - Gen 4
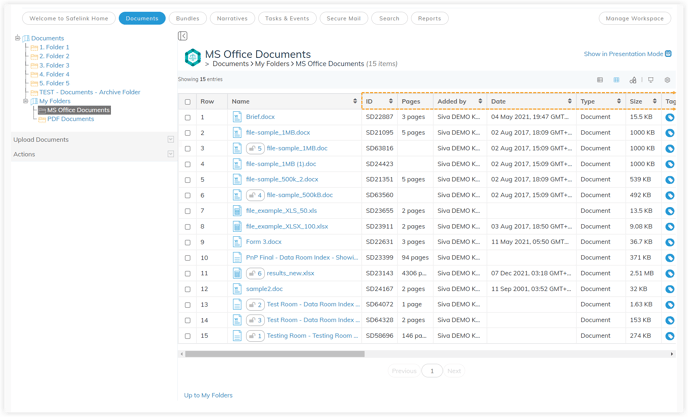
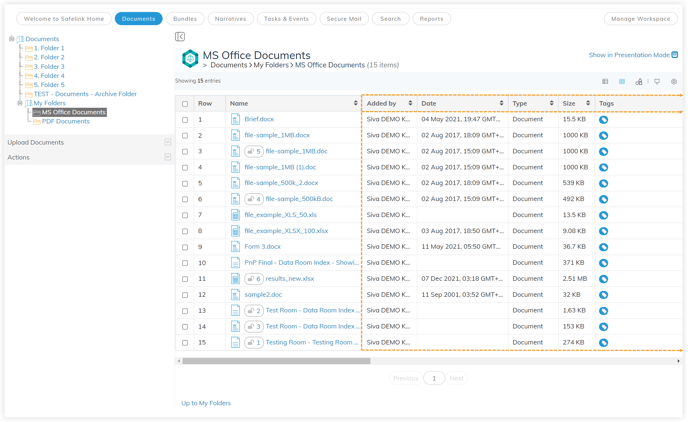
You can adjust the columns and add grid borders and row numbers to your files to make things look tidier.
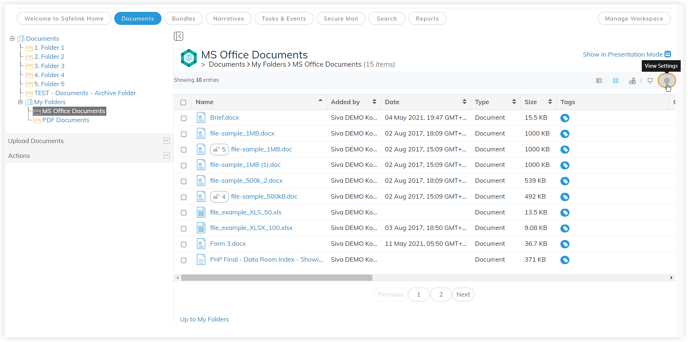
- Click the View Settings icon.

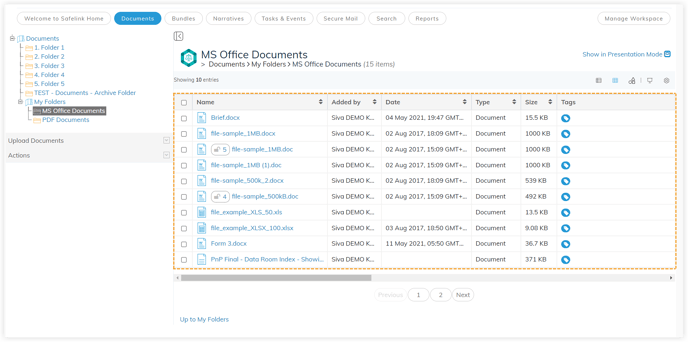
- Click the Show grid borders slide button to apply grid borders to your files in the Documents Area.

- Grid Borders may help make the Documents Area feel just a little more organised.

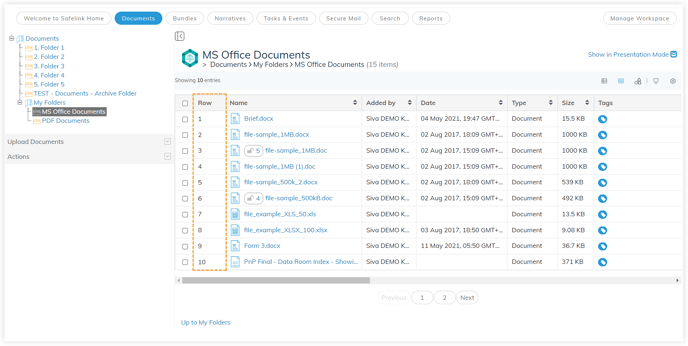
- Click the Show row numbers slide button to display row numbers next to your files in the Documents Area.

- Row Numbers can be a nice placeholder before applying a numbering scheme to your workspace and its contents.

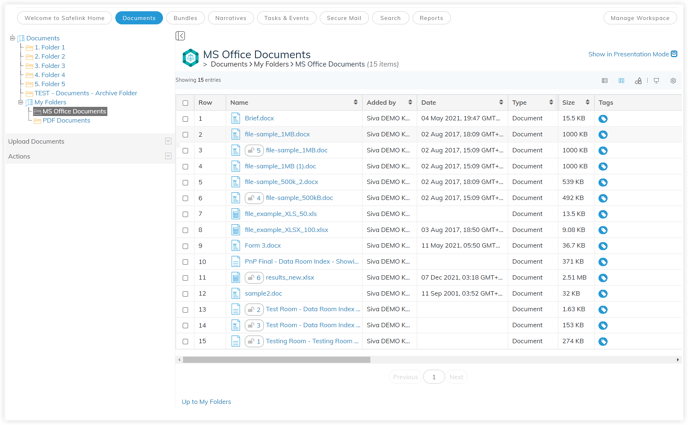
Note: Adding Row Numbers help you manage your documents. This is not the same as applying a custom numbering scheme to your workspace and its contents. Click here to view documents about numbering your workspace. - Click the drop-down menu to select how many files you want to display per page in the Documents Area. By default, the system will show ten rows at a time.

- Next, click Save.

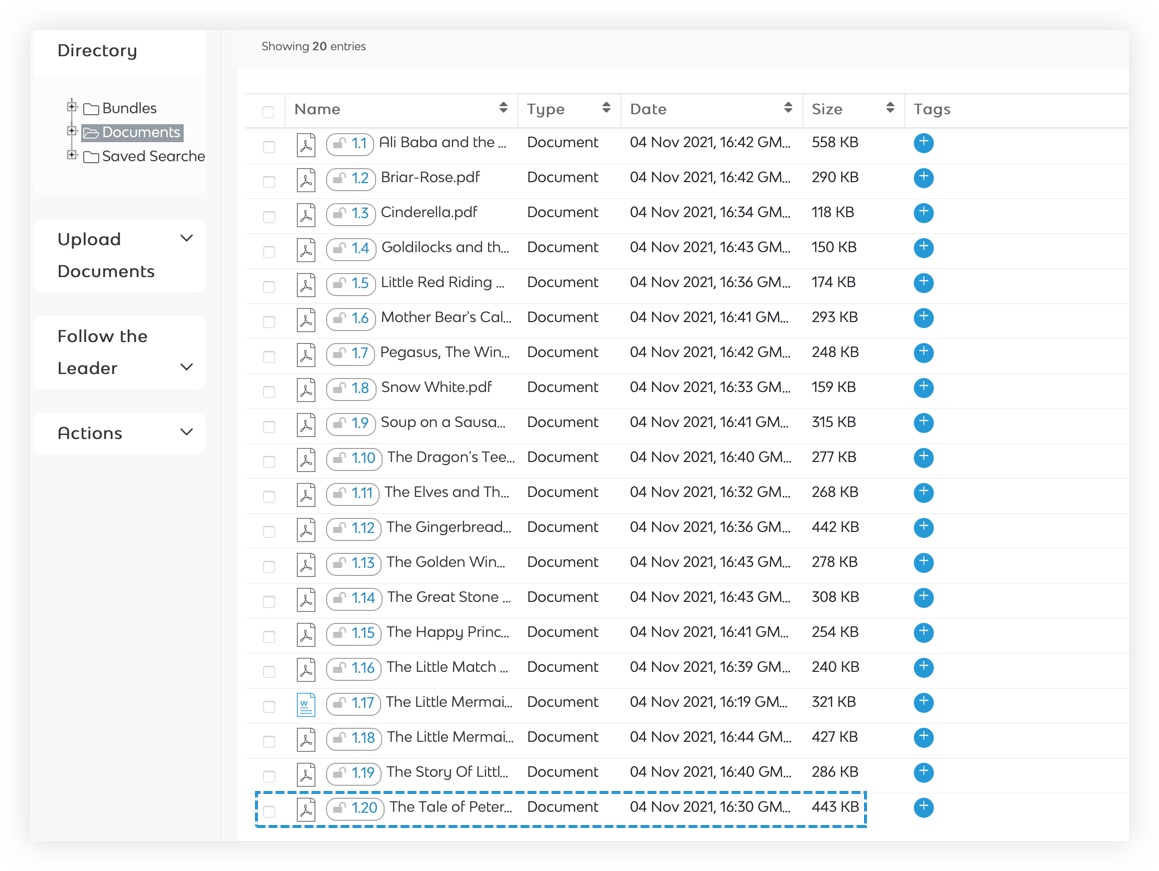
- The Documents Area will now display 20 documents or files per page.
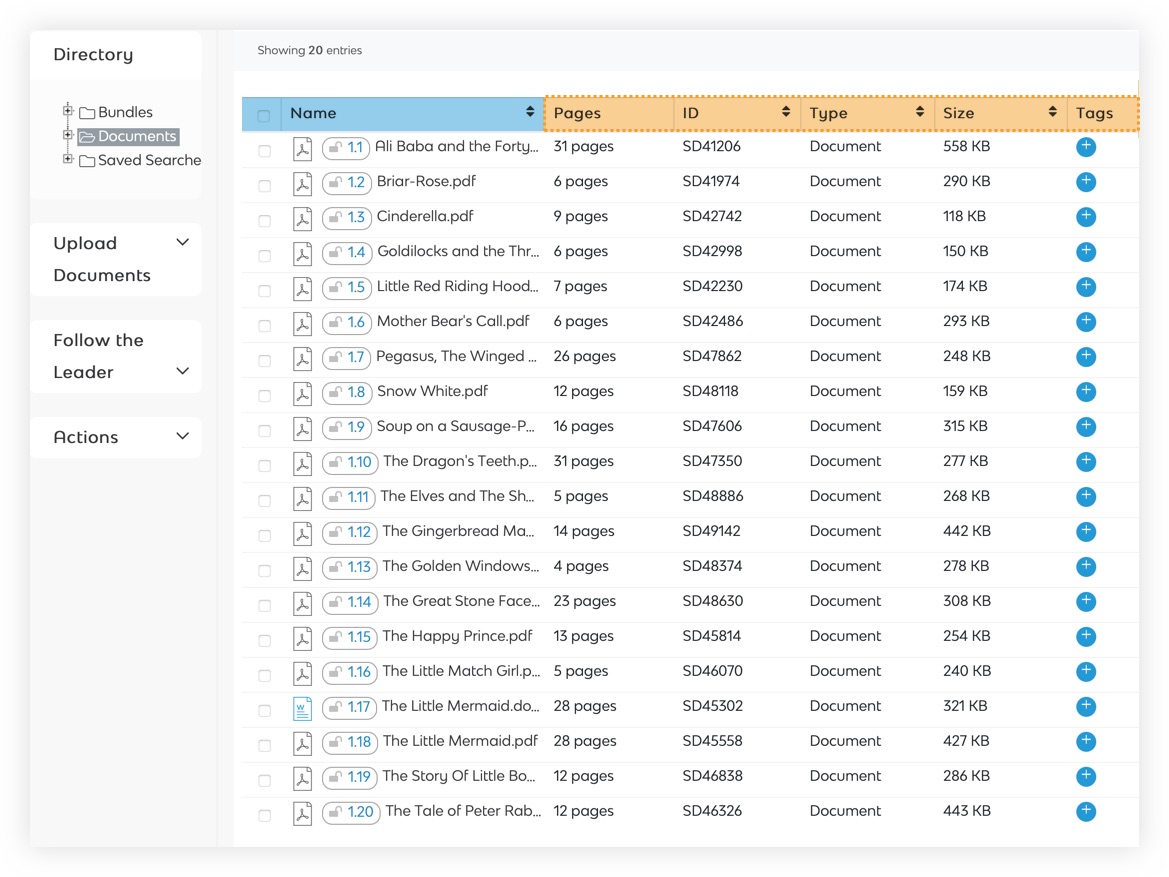
- The system will display your documents and their corresponding data fields in columns in the Documents Area. You can hover your mouse over these document fields and swipe right to view additional columns. Notice: The Name column will remain on the left as you scroll through your fields.
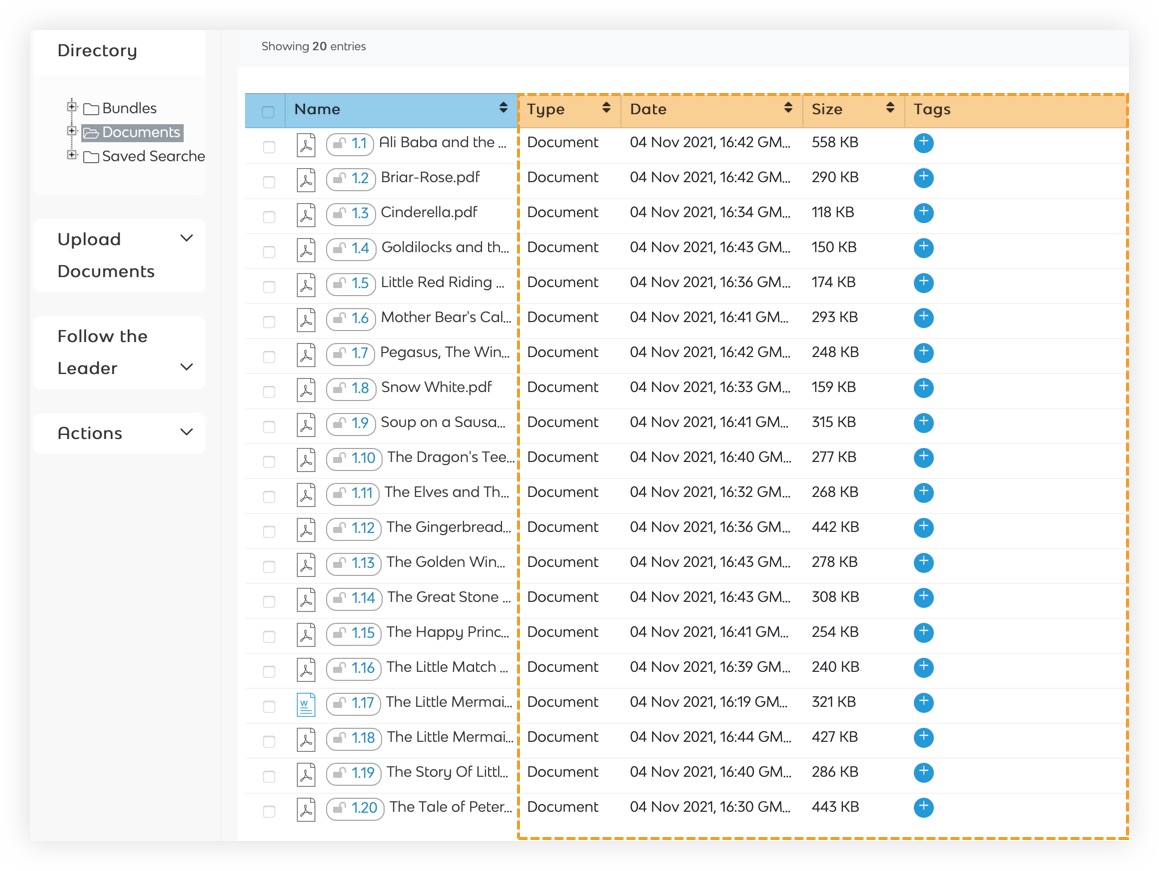
- Click on a grey column tab to add it to the Documents Area.

- The column tab will turn blue. A number will be added to your column tab, indicating the order in which it will display in the Documents Area.

- Click, drag and drop a column tab to reorder it.

- If you are happy with the arrangement, click Save.

- Lastly, admire your new arrangement and data fields.
Grid View - View Settings - Gen 3
- Click View Settings.
- This is the View Settings Menu. You can apply any changes you make to this folder or to all the folders in this workspace.

Show Grid Borders
- This is the View Settings Menu. You can apply any changes you make to this folder or to all the folders in this workspace.
- Click the Show grid borders slide button to apply grid borders to your files in the Documents Area.

- Grid Borders may help make the Documents Area feel just a little more organised.
Show Row Numbers
- Click the Show row numbers slide button to display row numbers next to your files in the Documents Area.

- Row Numbers can be a nice placeholder before applying a numbering scheme to your workspace and its contents.
Note: Adding Row Numbers help you manage your documents. This is not the same as applying a custom numbering scheme to your workspace and its contents.
Rows Per Page
- Click the drop-down menu to select how many files you want to display per page in the Documents Area.

- Next, click Save.

- The Documents Area will now display 20 documents or files per page.
Column Section
- Click on a grey column tab to add it to the Documents Area.
- The column tab will turn blue. A number will be added to your column tab, indicating the order in which it will display in the Documents Area
- Click, drag and drop a column tab to reorder it.
- If you are happy with the arrangement, click Save.
- Lastly, admire your new arrangement and data fields.