Expero - How to Upload Folders
Use the upload feature in the Documents Area to upload files into your workspace. Please check with your Workspace Admin to make sure you have upload permissions.
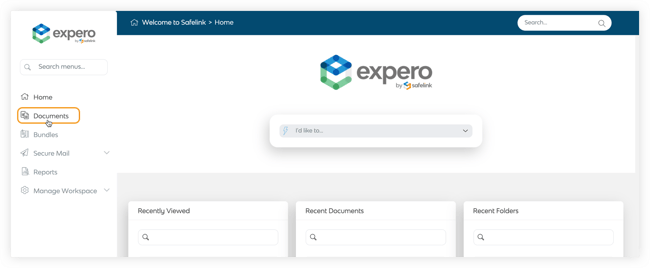
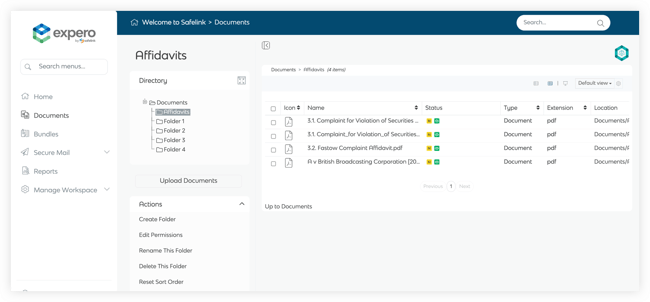
- To begin, click Documents.
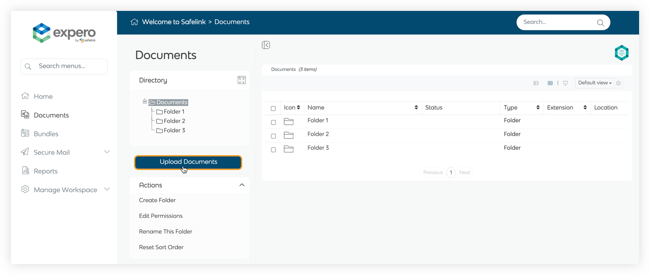
- This is the Documents Area. The upload feature is in the grey panel on the left. Please click Upload Documents to upload files.
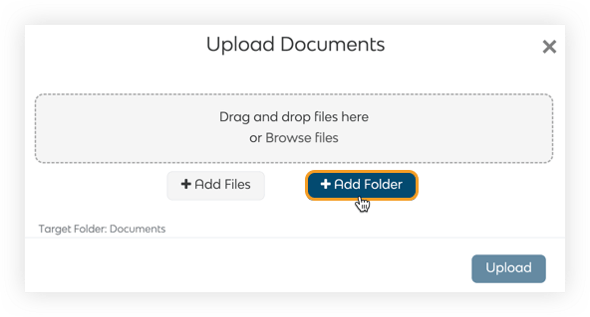
- Please click Add Folders in the upload modal. You can also drag and drop your folders in the upload modal.
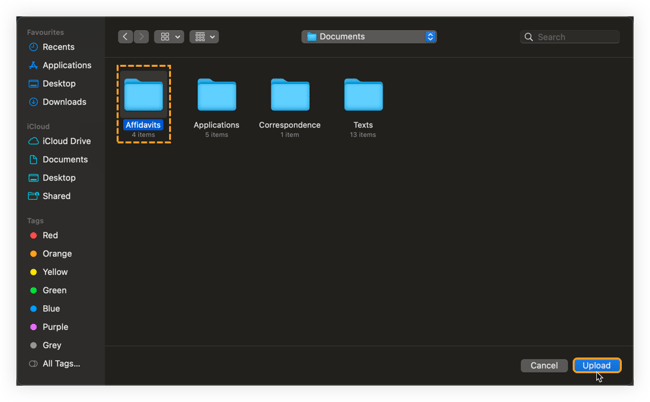
- Select which folder you would like to upload and click Upload.
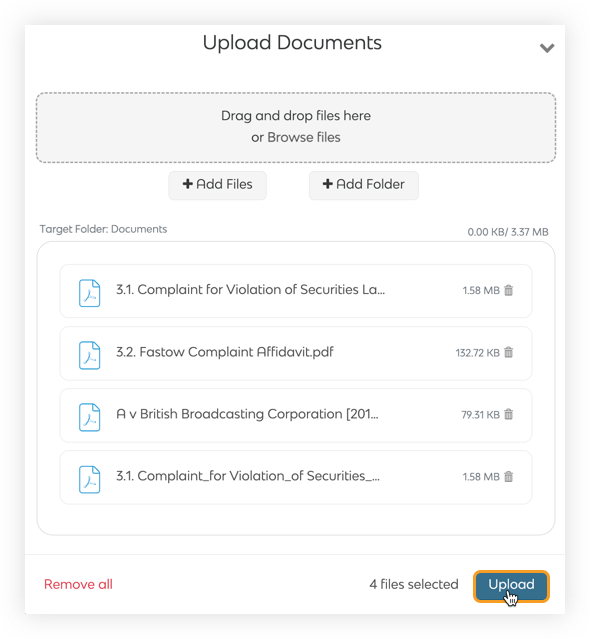
- The system will display the list of files to be uploaded. You can add or remove files as needed. When you're ready, please click Upload.
- The system will display a progress bar to indicate the progress of your upload.
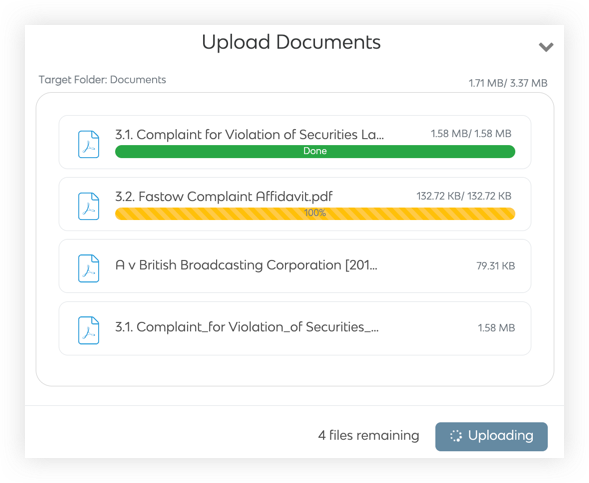
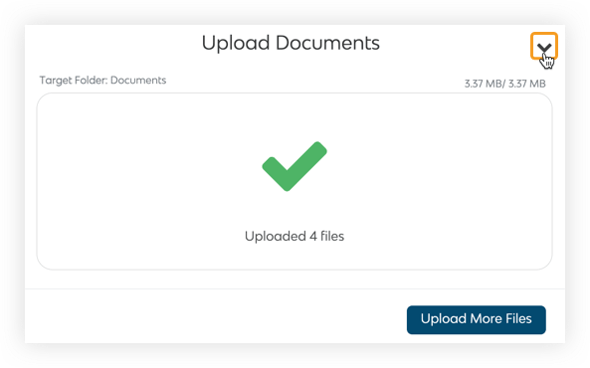
Please note that you cannot add new files to upload or cancel the upload while it is in progress. You can minimise the upload modal while the upload is in progress. - You can close the upload modal once the upload is complete.
- When your files have finished uploading, the system will process them. The processing procedure will make sure your files are not corrupt, virus-free and more. Most documents can be viewed immediately after uploading, however, processing must be complete in order to search your documents by keyword.
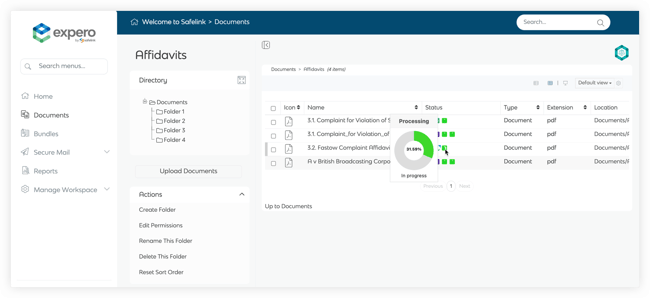
View and enjoy!
You can compress or zip your folders into a ZIP file to quickly upload large datasets. Once the upload is complete, you can unpack the ZIP file in your workspace. The file upload time will depend on the size of the documents and your internet speed.
![safelink-logo-rgb_18sefvp.png]](https://help.safelinkhub.com/hs-fs/hubfs/safelink-logo-rgb_18sefvp.png?height=50&name=safelink-logo-rgb_18sefvp.png)