How to Setup Coding Fields - Gen 4
How to Setup Coding Fields - Gen 3
How to Setup Coding Fields -Gen 4
- To turn on the document coding app, click the Manage Workspace.
- Go to the Apps section.
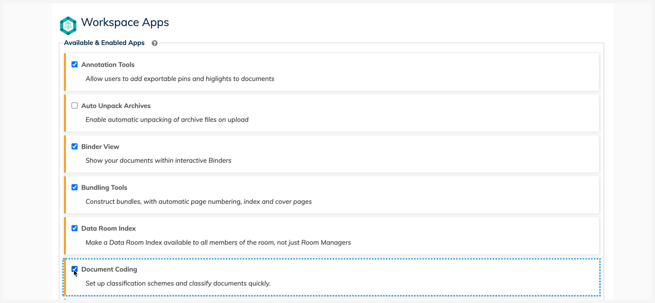
- Scroll down and tick the box next to Document Coding.
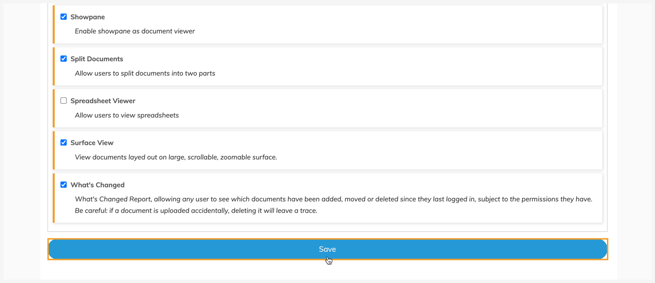
- Then, scroll to the bottom and click Save.

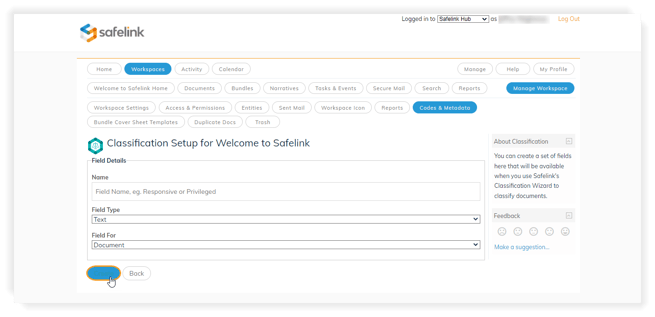
- The system will direct you back to your workspace's homepage. Next, click Manage Workspace.

- Then click Labels & Metadata.

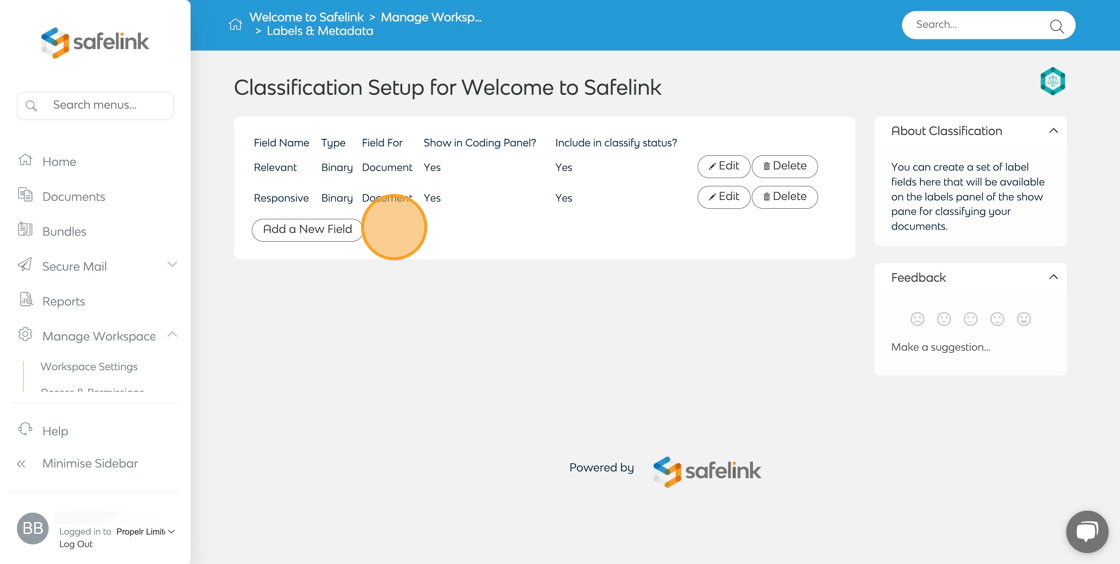
- On the classification setup screen, you can a add new field or edit an existing field. Click Add a New Field.

- Enter a Field Name.

- Next, select a Field Type. There are five different types of fields you can create. The fields you create will appear on the panel to the left of your document in the Document view.
- Yes/No - Creates a tick box to confirm or negate your tag entry. If your entry is ticked, the system will add this tag to your document in the Documents area.
- Text - Creates a text field on the left panel in the Document view.
- Date - Creates a date field on the left panel in the Document view.
- Date &Time - Creates a date and time field on the left panel in the Document view.
- Number - Creates a number field on the left panel in the Document view.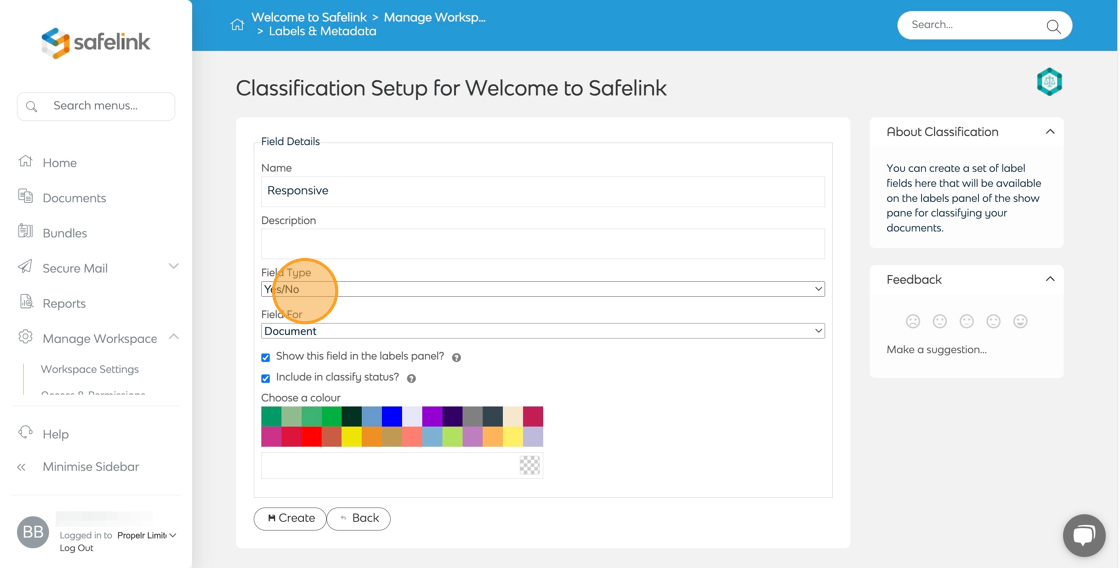
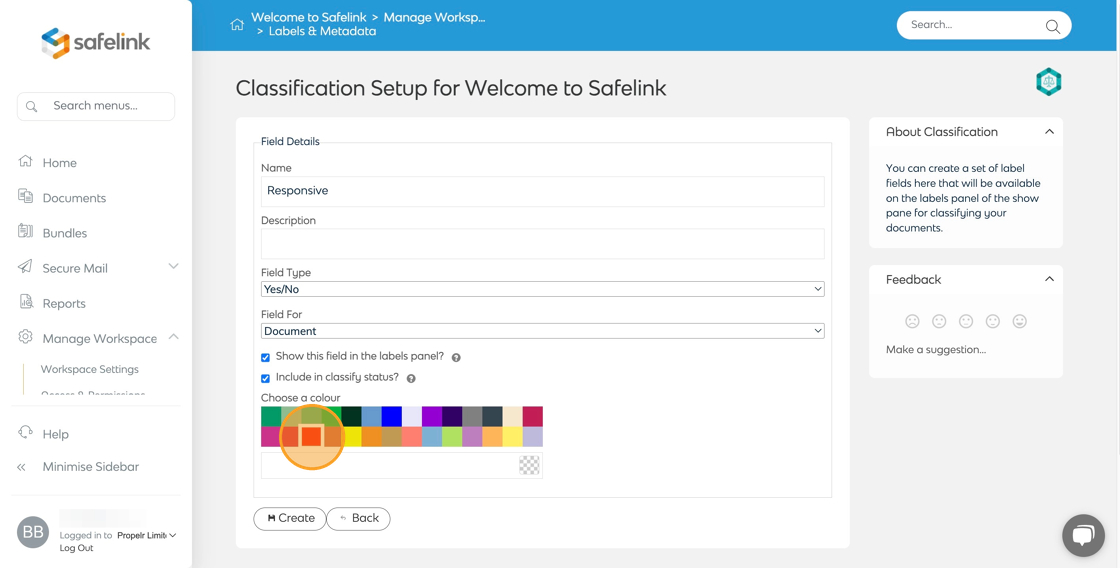
- There are other Setup options below that you can customize . Also, you can choose Colours for each Labels.
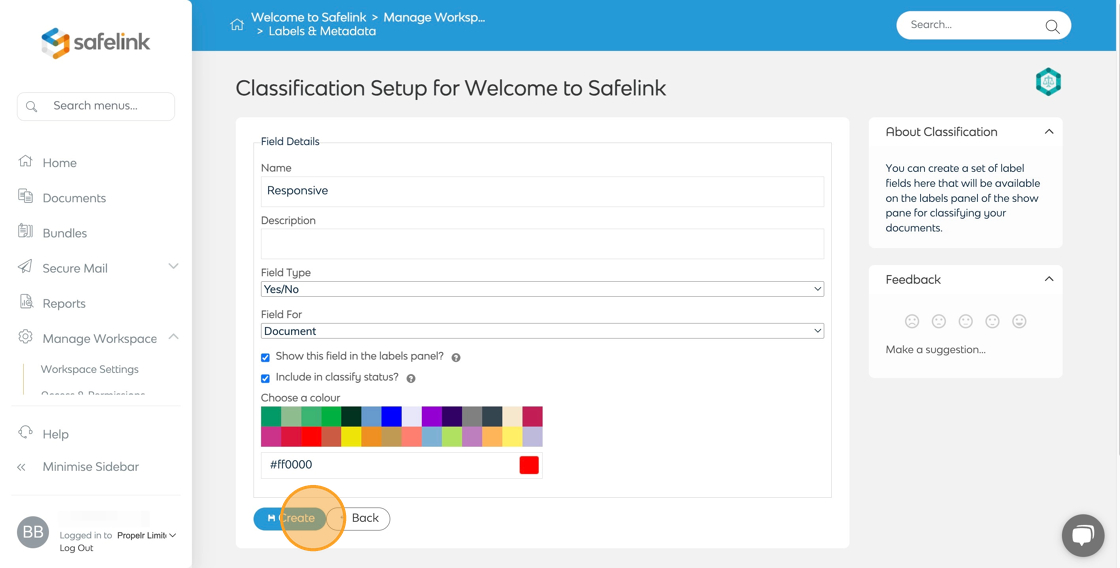
- Click Create to create your custom field.
- Follow the process outlined above to create more fields.
How to Setup Coding Fields - Gen 3
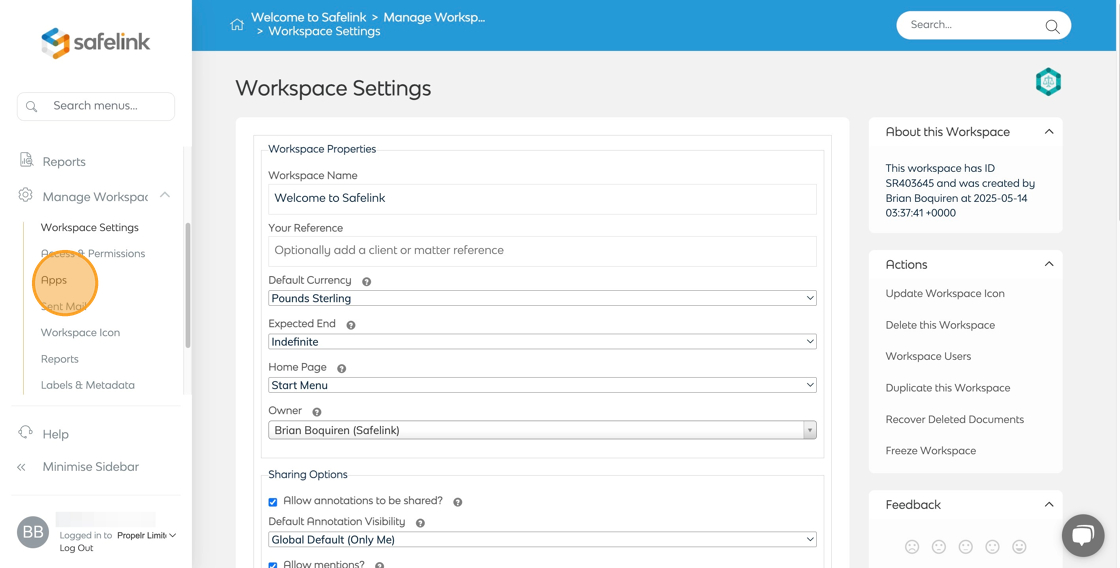
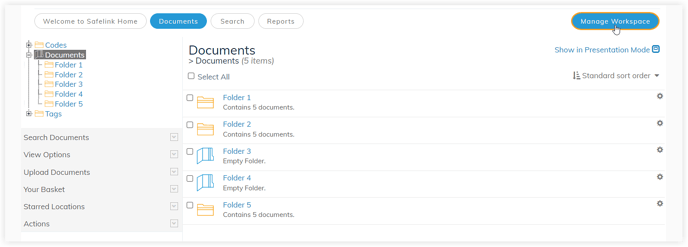
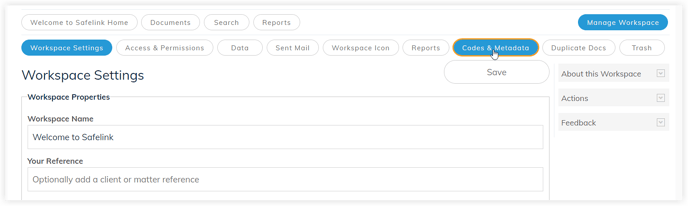
- To turn on the document coding app, click Manage Workspace to view your workspace settings.
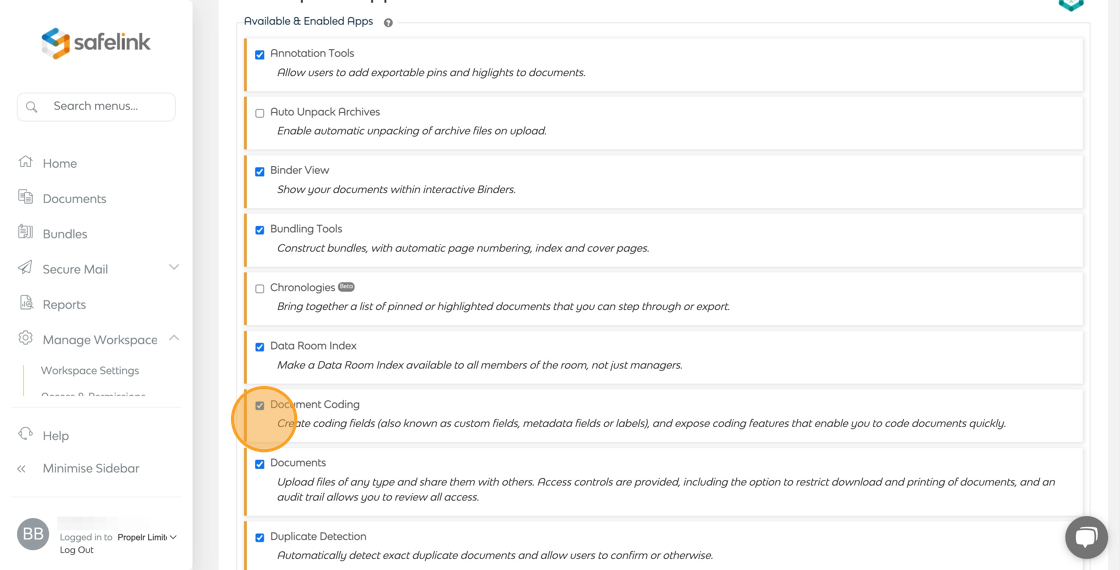
- Go to the Apps section.
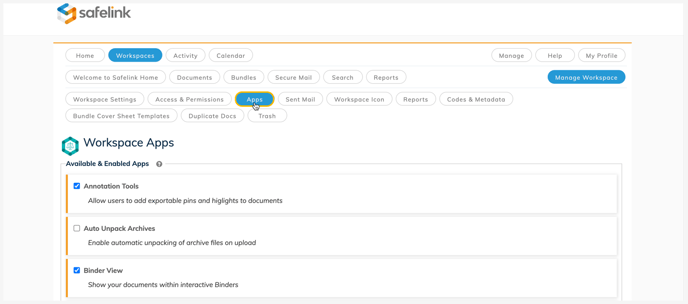
- Scroll down and tick the box next to Document Coding.
- Then, scroll to the bottom and click Save.
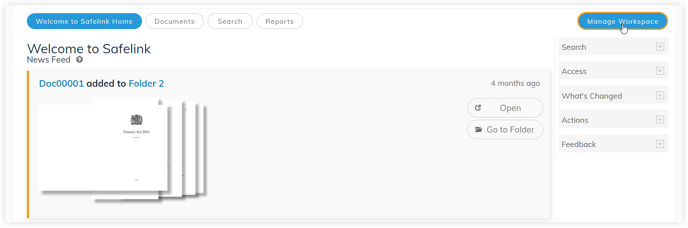
- The system will direct you back to your workspace's homepage. Next, click Manage Workspace.
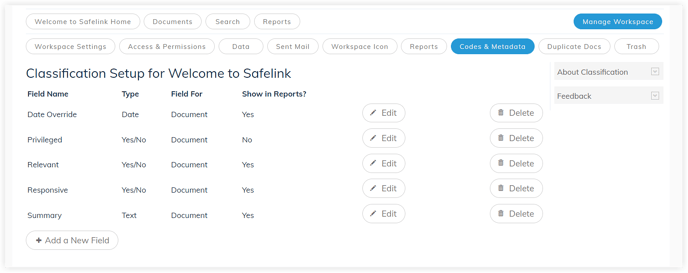
- Then click Codes & Metadata.
- On the classification setup screen, you can add a new field or edit an existing field. Click Add a New Field.
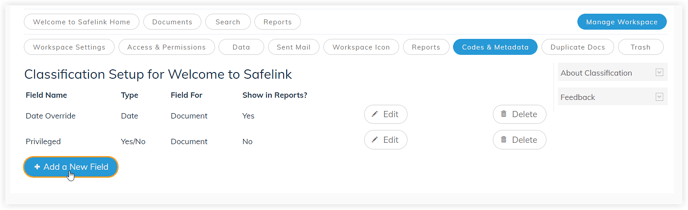
- Enter a Field Name.
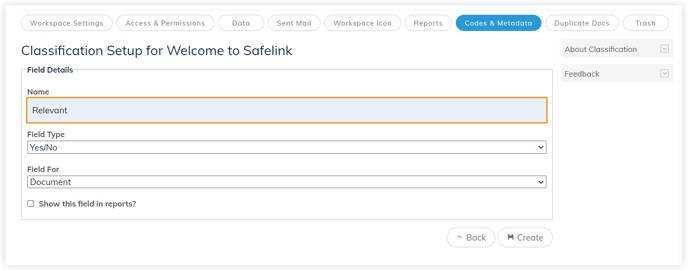
- Next, select a Field Type. There are four different types of fields you can create. The fields you create will appear on the panel to the left of your document in the Document View.
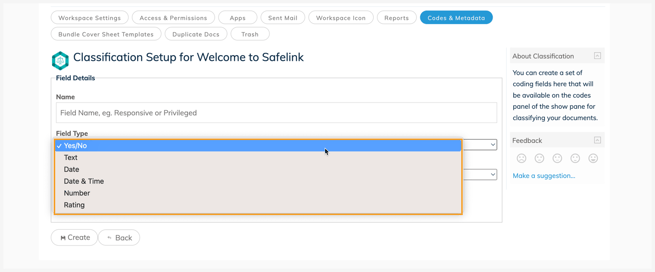
- Yes/No - Creates a tick box to confirm or negate your tag entry. If your entry is ticked, the system will add this tag to your document in the Documents area.
- Text - Creates a text field on the left panel in the Document view.
- Date - Creates a date field on the left panel in the Document view.
- Date &Time - Creates a date and time field on the left panel in the Document view.
-
- Number - Creates a number field on the left panel in the Document view.
- Number - Creates a number field on the left panel in the Document view.
- Click Create to create your custom field.
- Follow the process outlined above to create more fields.