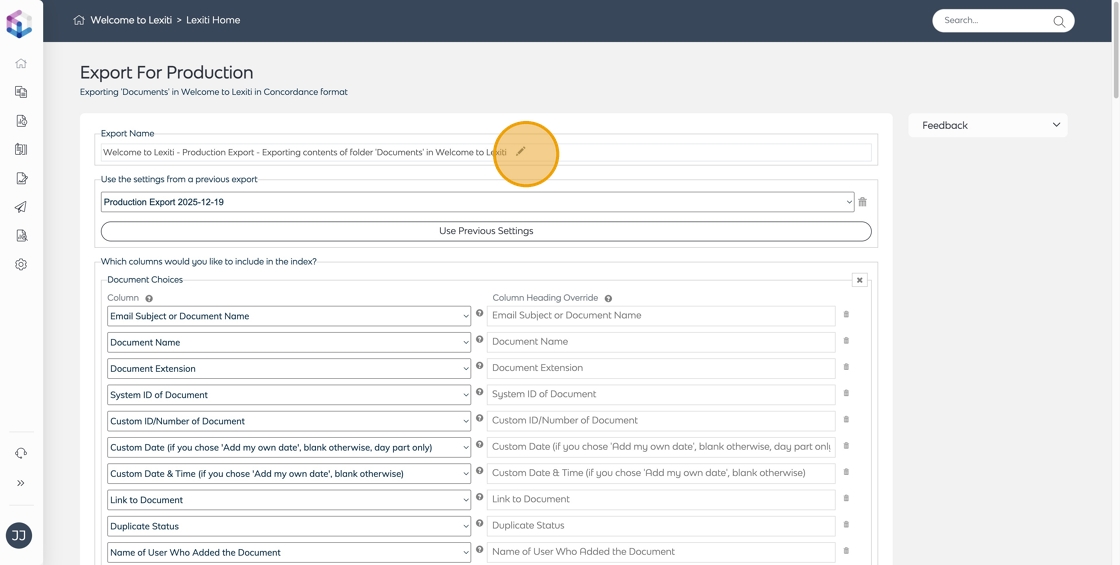
- Click the pen icon to customise the production name. Customising the production name makes it easier to identify and locate the production later.
-
Enter the production export name and click Save. Update the default name to something that helps you remember it, so you can easily find and reuse these settings later.

-
You can use the Use settings from a previous export section to apply settings from an earlier production. This helps save time by reusing previous export configurations. Click the drop-down icon and select the production export configuration you wish to use.

-
Click the Use Previous Settings button to apply the previous settings.

-
Customise the columns or metadata you want to include in your export. Click the bin icon to delete a single column.

-
Click the X icon to remove a group of columns.

-
Click the drop-down icon to choose your export format.

-
Select the Native, if possible with fallback to PDF option to export documents in their original format.
Note: If a document contains redactions, it will not be exported in native format. Instead, the system exports it as a PDF to ensure that redactions are applied correctly.
When exporting emails or other documents with embedded attachments in Native format, the native file (.eml, .msg, etc.) already contains all attachments as part of its structure. The system exports the file as-is, so all attachments are automatically included.
-
Select the PDF if possible, with fallback to native option to export documents as PDF. This prioritises PDF export, but if a PDF version isn’t available, the native file format is exported instead.

-
Selecting Native and PDF, if possible will produce both the native and PDF formats of the documents whenever possible.

-
Select PDF Only to export documents exclusively in PDF format. This is useful when a consistent, standardised format is required across all documents.
Note that documents without a PDF version, such as encrypted files or files that cannot be converted to PDF, will not be included in the export. We recommend using PDF if possible, with fallback to native to ensure that all documents are included in the export.
-
Encrypted documents can only be exported in their native format, as PDF version is not available.

-
When Apply Redactions is enabled, any redactions marked during review are applied to the exported PDF files. Redacted content is permanently obscured, ensuring that sensitive information remains hidden.
Note: Documents with redactions are always exported as PDF.
-
When Include Redaction Labels is enabled, redacted areas in exported PDFs are marked with text labels, helping reviewers understand the reason for redaction without revealing the hidden content.

-
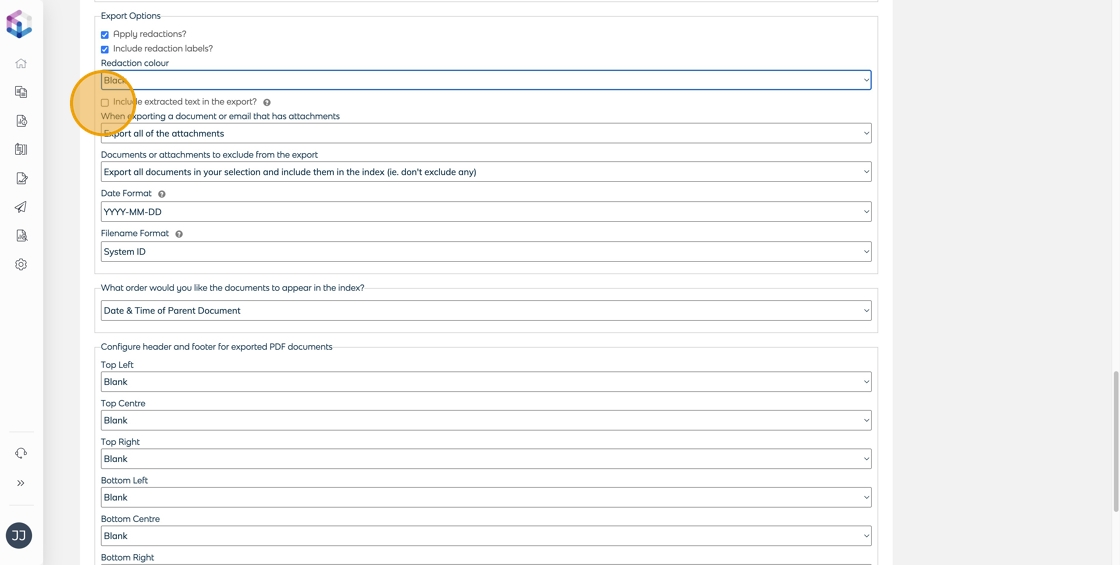
When Include Extracted Text in the Export is enabled, a separate text file (.TXT) is created for each document containing the extracted or OCR’d text. This text file is included alongside the native or PDF file in the export.
-
When using the Only Export Attachments That Explicitly Match Your Selection option, attachments that meet your exclusion criteria are omitted from the export. If a parent document has any omitted attachments, it will be exported as PDF only (the native format is disabled). All remaining attachments that do not meet the exclusion criteria are still exported as separate files.

-
When using Export All of the Attachments, all attachments are included in the export without applying any exclusion rules. Every attachment is exported, regardless of any omission rules set for parent documents.

-
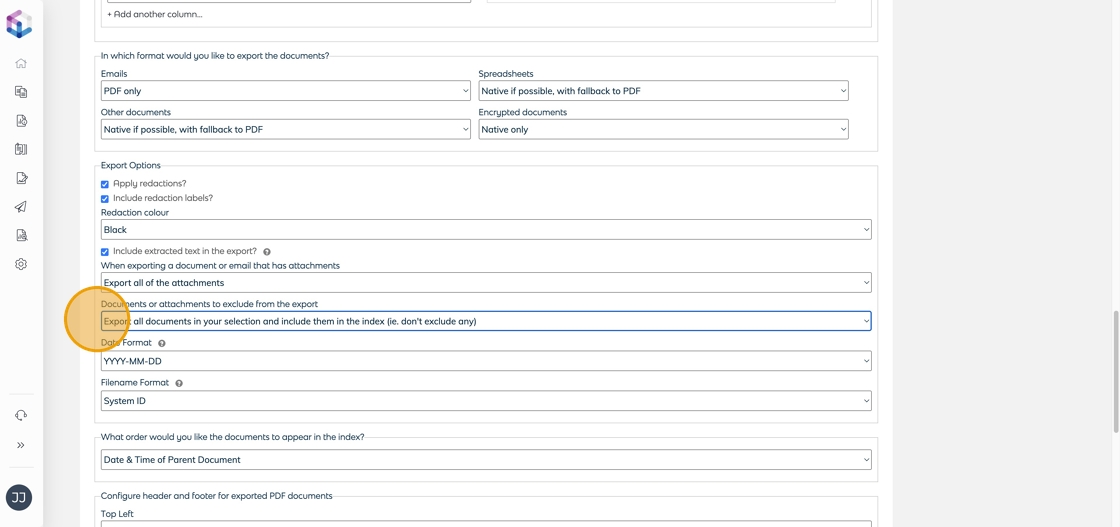
The Documents or Attachments to Exclude from the Export option allows you to automatically omit documents based on label values (tags). You can choose whether omitted documents appear in the export index as ‘Omitted’ or are excluded from the index entirely.
-
The Date Format controls how dates appear in the export index and on any PDF header or footer stamps. The Filename Format determines how exported files are named in the export package.

-
The What Order Would You Like the Documents to Appear in the Index option controls how documents are sorted in the export index (the CSV or DAT file listing all exported documents).

-
The Configure Header and Footer for Exported PDF Documents option lets you add custom text stamps to the top and bottom margins of every page in exported PDFs. This is useful for including information such as page numbers, bates numbers, or document metadata.
Note: Headers and footers apply only to PDF exports and appear on every page of each exported PDF.
-
Export Index Only exports just the index files (CSV and DAT) without including any actual documents.

-
Export Index and Documents exports both the index files and all associated document files, including PDFs, native files, and text files (if selected).
